Tanning can be such a hassle sometimes, man. If only there were a way to make your self tan develop faster without compromising the glow quality.
But what if I told you there is a way (that I have tried and tested on myself) that will give you that quick confidence boost without feeling like a chore?
Choosing The Fake Tanner That Can Make Your Tan Last Longer
Before developing a tan, you must choose a suitable tanner that lasts longer. I have listed below some factors that will make this decision easier (thank me later).
Formulation Type
If you want a tan that develops quickly without compromising texture, I recommend using the mousse formulation.
Yes, you might argue that lotions and spray tan seem easier and hydrating, but these lightweight options might not give you the smooth bronze look that mousse can offer.
DHA Concentration
Pay attention to the DHA concentration; higher percentages typically result in a darker tan.
If you’re new to self-tanning, I suggest starting with a lower concentration of self-tanner, as it yields more natural results.
Skin Type Compatibility
If you have dry skin, I suggest using a hydrating formula containing moisturizing ingredients like aloe vera or coconut oil and applying a moisturizer to dry areas like the elbow, knee, and ankle.
Otherwise, if you have oily skin, you can use a lightweight gel or mousse. As someone with oily skin, I assure you there won’t be any breakouts or clogged pores after tan application.
How to Make Fake Tan Develop Faster? Step By Step Tanning Tips
Now that you know which tanner will suit you best, it’s time to move to the tanning process.
Provided below are all the crucial steps broken down in as much detail as one could provide.
Step 1: The Prep Before Applying Fake Tanner
Exfoliate 24 hours before applying self tanner to remove dead skin cells. During my research, I also discovered that using body polish or a gentle scrub during exfoliation helps buff away any uneven patches.
Oh, and yes, remember to shave at least 3 hours before application to ensure a smooth finish (this is very important).
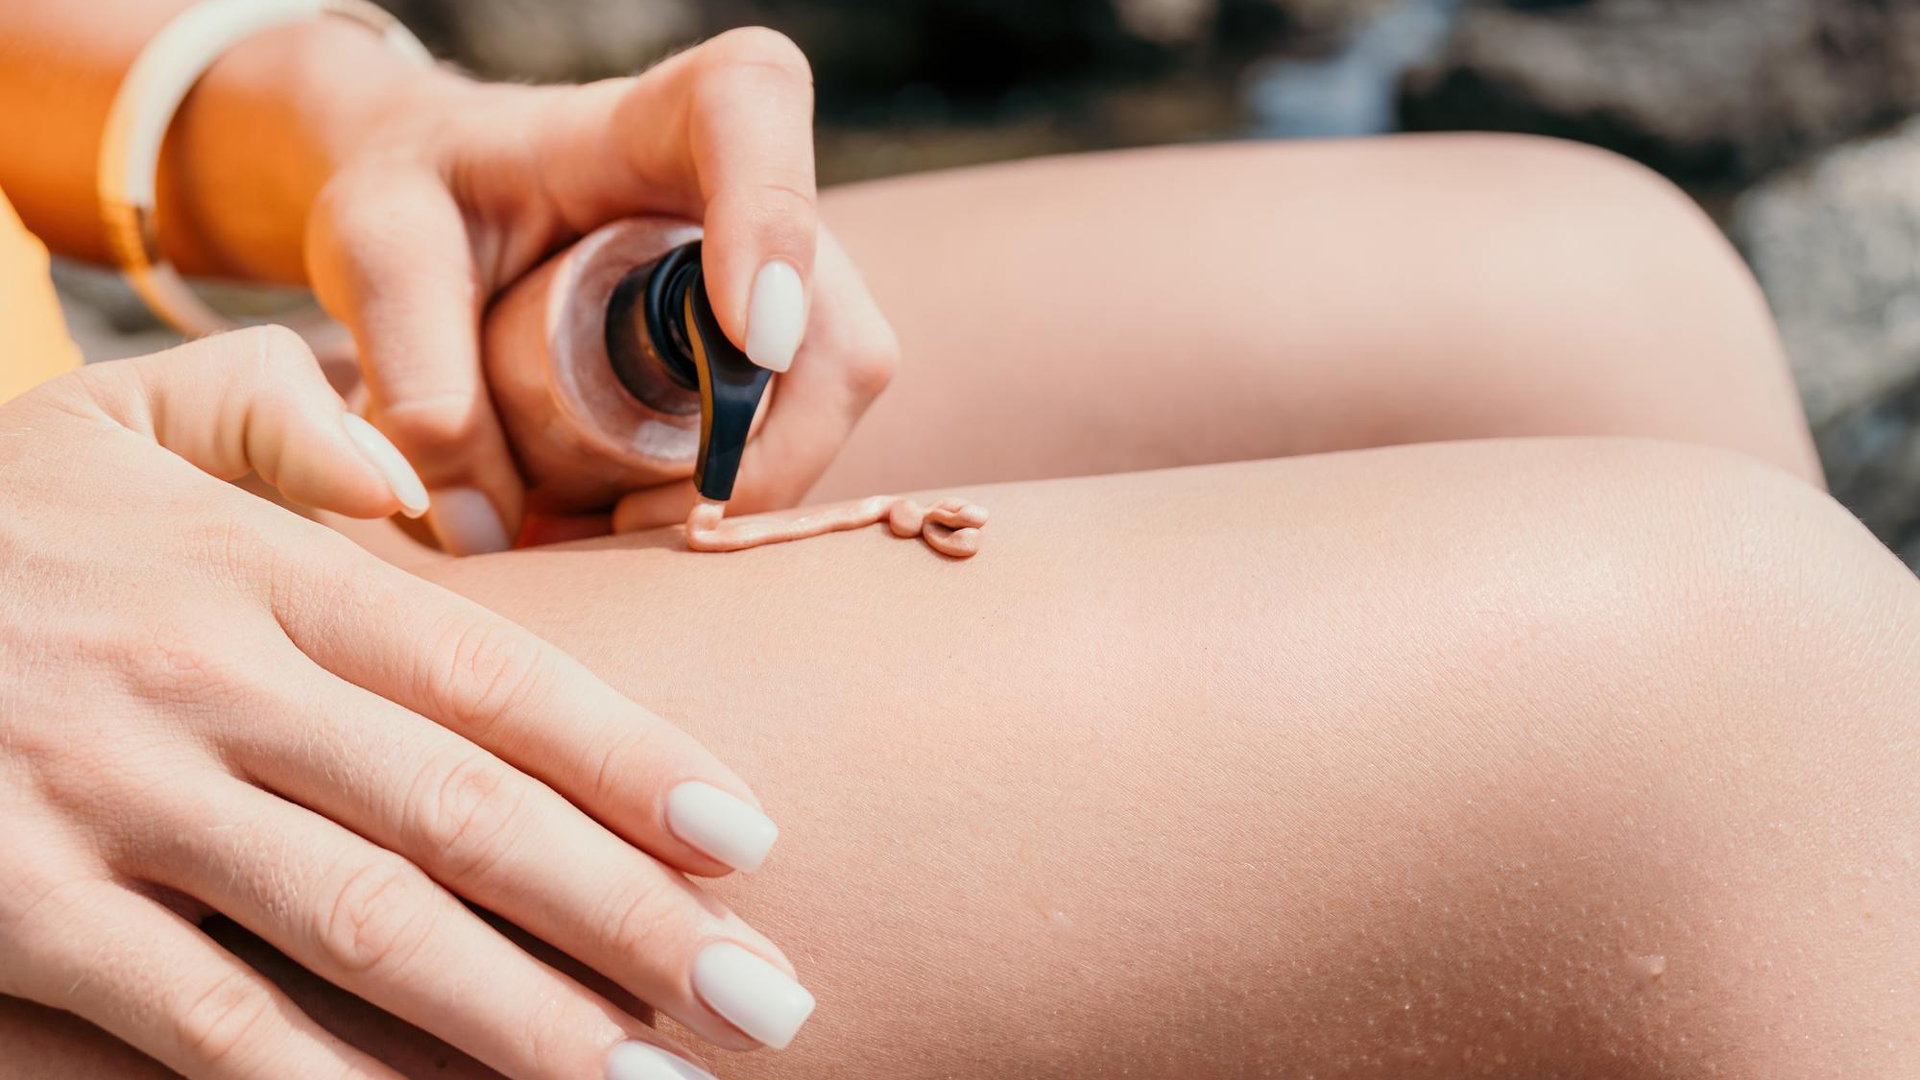
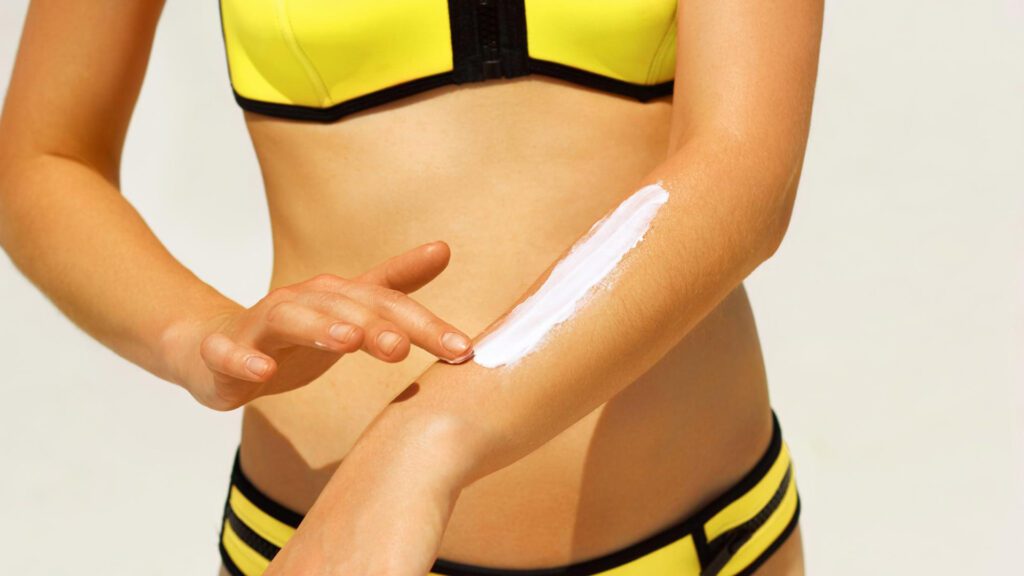
Step 2: Applying The Fake Tanner
Use an applicator mitt to apply the self-tan in smooth, circular motions, ensuring an even coverage.
For the quickest results, rinse off any excess product after about 8 hours. This trick helps your tan develop over the next few hours.
Step 3: Speeding Up the Drying Process Of a Fake Tan
Position a fan nearby to increase air circulation around your tanned skin. The gentle breeze will help evaporate the moisture from the tanning solution more quickly, allowing it to set faster.
After your tan has been applied, choose loose-fitting and lightweight clothing. Fabrics like cotton allow your skin to breathe and won’t cling to the tanning solution, which can help it dry more quickly.
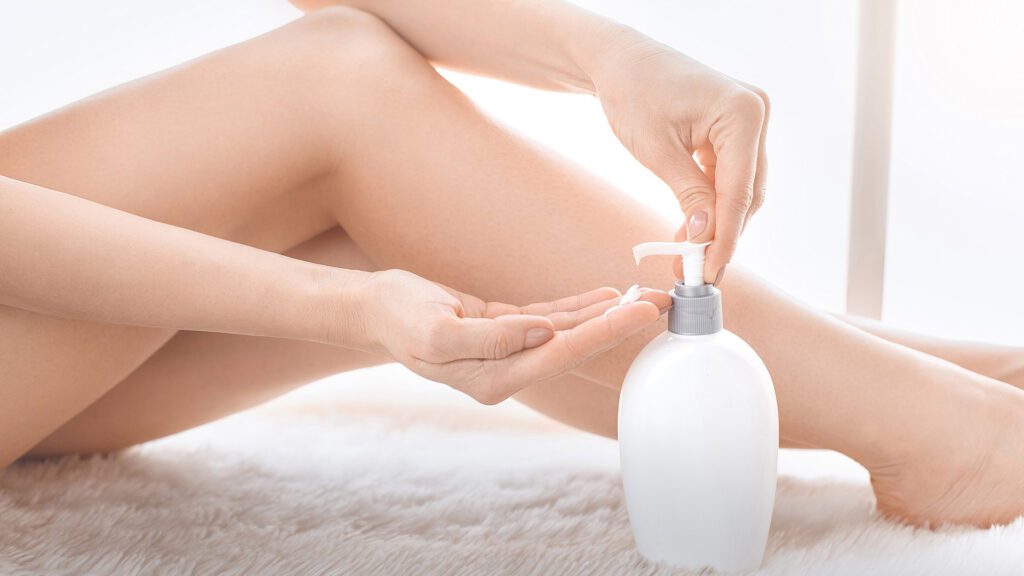
Step 3: Aftercare Of a Tan
To achieve a flawless finish, wait at least hours before tanning to shower.
And when you rinse, use lukewarm water to help your self-tanner absorb properly.
Avoid soaps and tan removers immediately after application, as they can fade your tan. Instead, infuse a gentle body lotion in your skincare.
And There You Have It!
Now, you’re ready to show off that quick, sunless tan and enjoy your gorgeous new look!
Just remember to shave, exfoliate, and moisturize with oil-free products. Apply with a mitt, dry with cool air, clean up excess tanner, and avoid oils afterward.